Do you want more of that striking, architectural beauty that comes with snake plants? You only need to split your current plant! With this easy propagation method, you may refresh an overgrown mother plant, bring the green love to friends, and fill your home with bright new puppies. You don’t need a botanist’s degree or fancy equipment to accomplish this. So gather your interest and a sharp knife, and let’s start growing your snake plant family together. It will be a rewarding journey. Prepare to see, one leaf at a time, the magic of green!
Why Split Your Snake Plant?
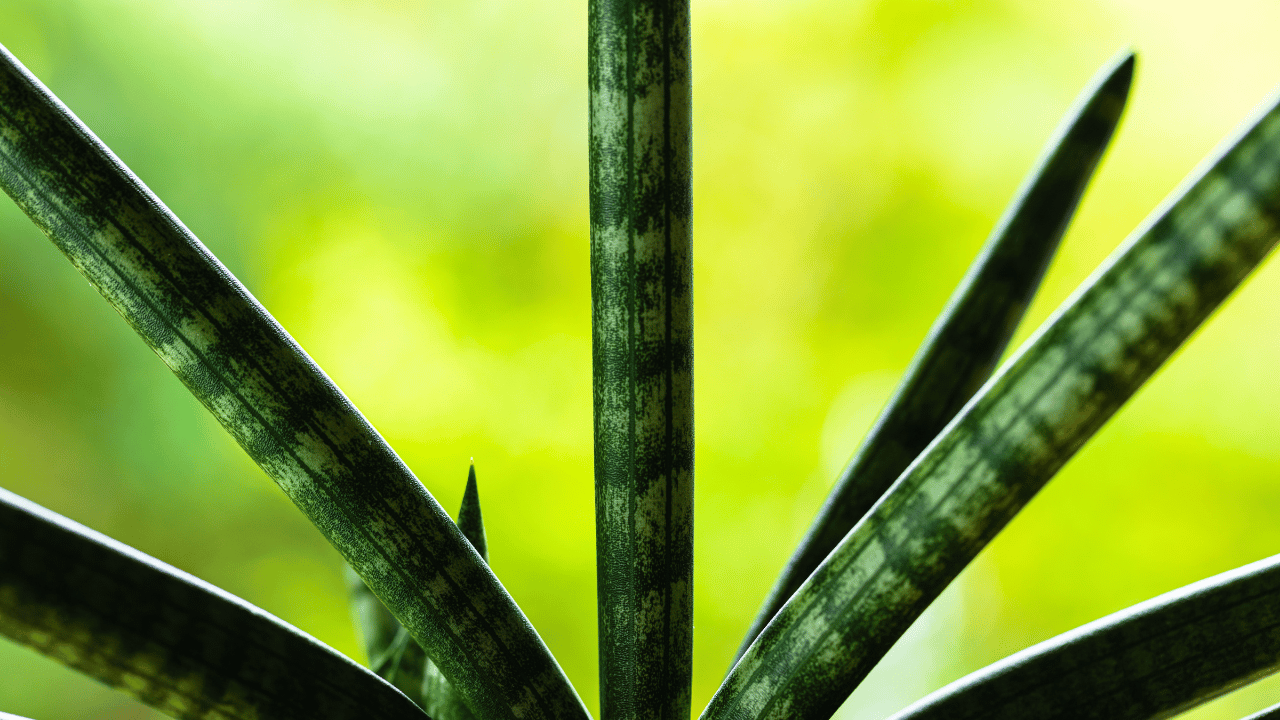
Snake plants – with their tall, upright posture and striking foliage – reign supreme as low-maintenance indoor companions. But their appeal goes beyond aesthetics! Splitting your snake plant unlocks a treasure trove of benefits that extend far beyond filling your space with vibrant green.
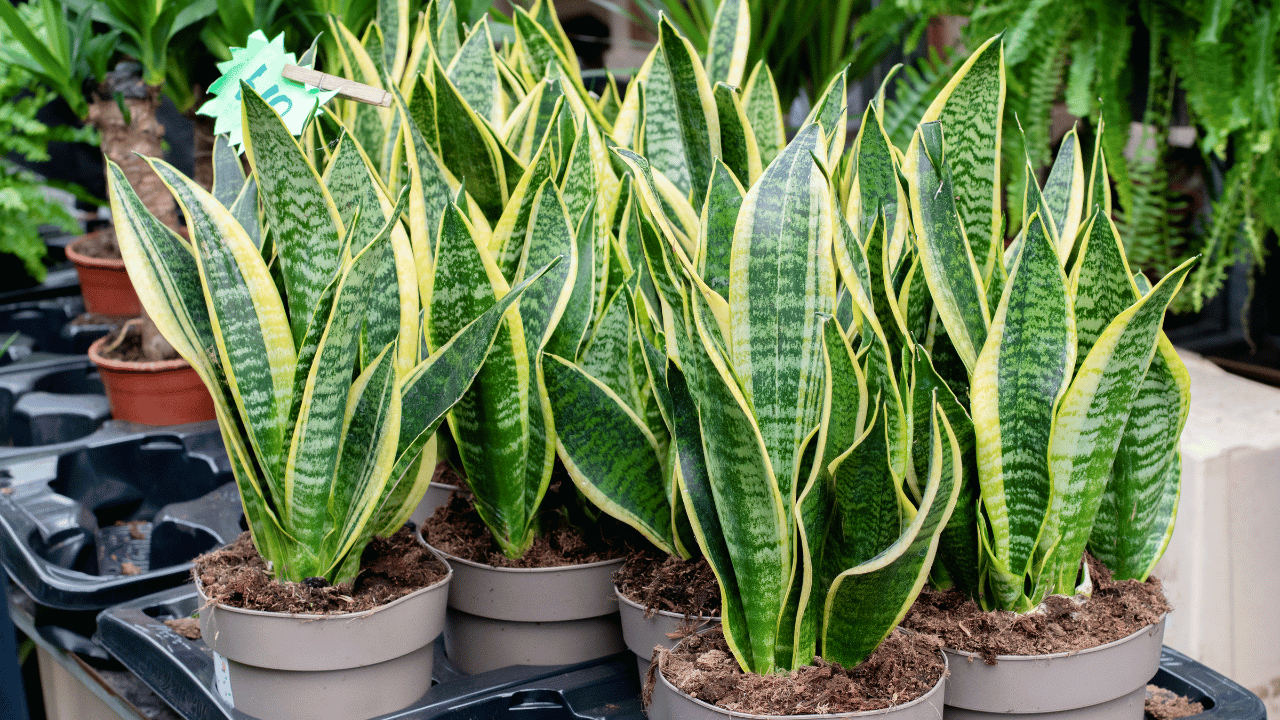
Grow Your Plant Family: Watch your beloved snake plant transform into a vibrant family! Splitting multiplies your greenery, letting you adorn multiple rooms or share the joy with friends. Imagine gifting a piece of your cherished plant, witnessing its thriving in another home – a heartwarming connection rooted in nature.
Rejuvenate a Crowded Crowd: Overgrown snake plants, though lush, can lose their defined form and vigor. Splitting them alleviates root competition, giving each section renewed space and nutrients. Witness rejuvenated growth, with your previously dense plant unfurling fuller, healthier leaves.
A Cost-Effective Green Spree: Forget purchasing new plants – snake plant splitting is a budget-friendly way to expand your indoor jungle. No trips to the nursery, no hefty price tags – just a little TLC and you’ve got a thriving new generation of snake plants, ready to grace your space.
Beyond Decoration, a Symbol of Renewal: Splitting symbolizes a fresh start, a chance to give your snake plant a new lease on life. It’s a testament to the plant’s resilience, demonstrating its capacity to grow and adapt. Witnessing this vibrant proliferation is a rewarding experience, connecting you to the cycle of nature within your own home.
So, if you crave more snake plant magic, splitting isn’t just about aesthetics – it’s a chance to nurture, share, and witness the enduring power of plant life. Now, let’s dive into the how-to, shall we?
Prep for Propagation Perfection Tools & Leaf Tales
Before diving into that satisfying snip, let’s gather our essentials! You’ll need a sharp, clean knife or pruners – think precision, not blunt force. Grab some well-draining potting mix, ideally for succulents, and containers appropriate for your new plantlets.
Now, let’s talk leaves! Choose healthy, mature ones – vibrant and firm, not limp or wrinkled. Look for sections at least 6 inches long with a solid growth point at the base. These strong candidates will root and flourish readily.
Pro tip: Avoid leaves with brown edges or visible damage. They might struggle to thrive after separation. Remember, happy mother plant, happy pups!
With your tools and leafy contenders selected, we’re ready to gently liberate our snake plant from its pot. Stay tuned for the next chapter, where we’ll navigate the root zone with utmost care!
Gently Unearthing Your Snake Plant
Time to gently coax your snake plant out of its earthy embrace! Imagine yourself on an archaeological dig, carefully unearthing a hidden treasure. Grab your trusty shovel or a sturdy spoon (for smaller pots) and let’s begin:
Loosen the Soil: Gently massage the sides of the pot to loosen the soil. Tap the bottom to further detach the root ball.
.Tip and Tilt: Carefully tilt the pot at an angle and slide your chosen tool under the base of the plant. Slowly lift, supporting the plant’s base with your other hand.
Taming the Tangled Roots: Don’t panic if the roots seem like a knotted spaghetti monster! Gently tease them apart with your fingers, removing any excess soil without tugging hard. Remember, patience is key to minimizing root damage.
Inspect & Clean: Check for any brown or mushy root sections. These can be trimmed away with your sterilized knife or pruners. Rinse the remaining roots gently under lukewarm water to remove any clinging soil.
Voilà! Your snake plant is now freed from its earthen dungeon, ready for the next step in its propagation journey. Stay tuned for the exciting leaf cutting adventure in the next chapter!
The Great Divide Choosing Your Splitting Method
With your snake plant prepped and roots untangled, it’s time for the moment of truth – the split! But hold on, there’s not just one path to propagation paradise. Choose your weapon, or rather, method, based on your plant’s personality and your comfort level.
This beginner-friendly approach involves slicing healthy leaves into 3-4 inch segments. Each piece retains a growth point, promising individual leafy pups. Simply make clean cuts with your sterilized knife and let the magic of regeneration begin!
For a more advanced technique, embrace the power of the rhizome, the underground storage organ. Divide it carefully with your knife, ensuring each section has leaves and healthy roots. This method delivers larger pups, but handle with care for optimal success.
Remember: Always sterilize your cutting tools between cuts to prevent infection. No need for fancy powders or dips – rubbing alcohol does the trick!
Whichever method you choose, precision is key. Aim for clean, sharp cuts to minimize damage and encourage efficient rooting. Feel empowered to customize your approach based on your plant’s specific structure and your confidence level.
From Cuttings to Kings Planting Your New Snake Plant Pups
Congratulations, green thumb maestro! You’ve conquered the cut, and now it’s time to give your precious snake plant pups their very own leafy kingdoms. Let’s choose the perfect pots and prepare a soil fit for royalty:
Select well-draining containers slightly larger than the base of your leaf sections or rhizome divisions. Opt for plastic or terracotta pots with drainage holes – excess moisture is the enemy!
Fill your chosen vessels with a well-draining succulent or cactus mix. You can also DIY by blending 2 parts potting soil with 1 part perlite or coarse sand for maximum drainage. Remember, good drainage is vital for happy snake plant roots!
Make a shallow indentation in the soil and gently nestle your leaf sections or rhizome divisions. Cover the base with soil without burying the growth point. For leaf sections, lay them horizontally with the cut end resting on the soil.
Give your newly potted pups a light but thorough watering. The soil should be damp, not soggy. Avoid overwatering, as this can lead to root rot. Remember, these little ones are still establishing themselves.
Find your pups a bright, indirect light spot. Avoid harsh midday sun, which can scorch their delicate leaves. East or west facing windows are ideal, offering ample light without the burn.
With your pups nestled in their new homes, the final chapter awaits! We’ll explore post-split care tips to ensure your snake plant family thrives and multiplies its lushness. Get ready to witness the joy of witnessing these leafy babies flourish!
Nurturing Your Snake Plant Pups to Thriving Teens
The splitting feat is done, but the journey continues! Let’s nurture your newly potted snake plant pups into thriving teenagers, bursting with leafy goodness. Here’s your post-split care cheat sheet:
Resist the urge to overwater! Let the soil dry completely between waterings. Remember, overwatering is the arch-nemesis of healthy roots. A quick finger test in the soil is your best friend.
Opt for bright, indirect light, mimicking their natural habitat. Think dappled sunlight or an east/west-facing window. Too much direct sun can scorch their delicate leaves, while insufficient light hinders growth.
Aim for a comfortable room temperature between 65-80°F (18-27°C). Avoid drafty spots or sudden temperature fluctuations. Snake plants, like us, prefer consistency!
Don’t expect overnight growth! Rooting and establishment take time, usually a few weeks to a couple of months. Resist the urge to overfertilize – let the pups focus on building their root systems first.
Avoid repotting for about 3-6 months, unless the pups seem noticeably cramped. Let their roots establish themselves in their current homes before moving them into bigger digs.
Brown leaf edges? Likely due to overwatering. Reduce watering frequency and adjust your light conditions if needed. Wilting leaves? This could indicate underwatering. Give them a gentle drink and monitor their moisture levels.
With attentive care and a bit of patience, your snake plant pups will soon transform into thriving teenagers, ready to bring their vibrant charm to your space. Celebrate their successes, learn from any hiccups, and most importantly, enjoy the magic of witnessing your plant family grow, all thanks to the power of splitting!
Remember, snake plant propagation is a rewarding journey, offering the joy of sharing vibrant greenery and witnessing the resilience of nature. So, grab your tools, unleash your inner plant whisperer, and embark on this adventure with confidence – your leafy kingdom awaits!